Model Kit “Vic Viper” and Craft Evenings
Actually it is quite embarrassing for me, how I came to model making in the first place… but for the sake of completeness I would like to explain it here. When it comes to designing digital media (signatures, websites, products etc.) my story started quite early in the middle of the 2000s, designing things with Photoshop or similar programs for school or as a hobby in forums. But when it came to “plastic” things – things that cannot be reset digitally and therefore mistakes are punished faster – I was very reserved. Every once in a while I did something, like a homemade teemo figure (from League of Legends), but you can see that I never did anything in exact detail (unlike my digital pictures, where I pay attention to every pixel). This should change around 2015… or at least the ball is rolling.
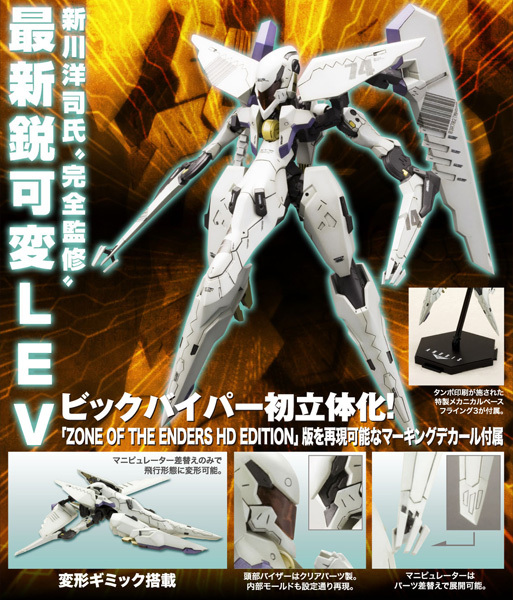
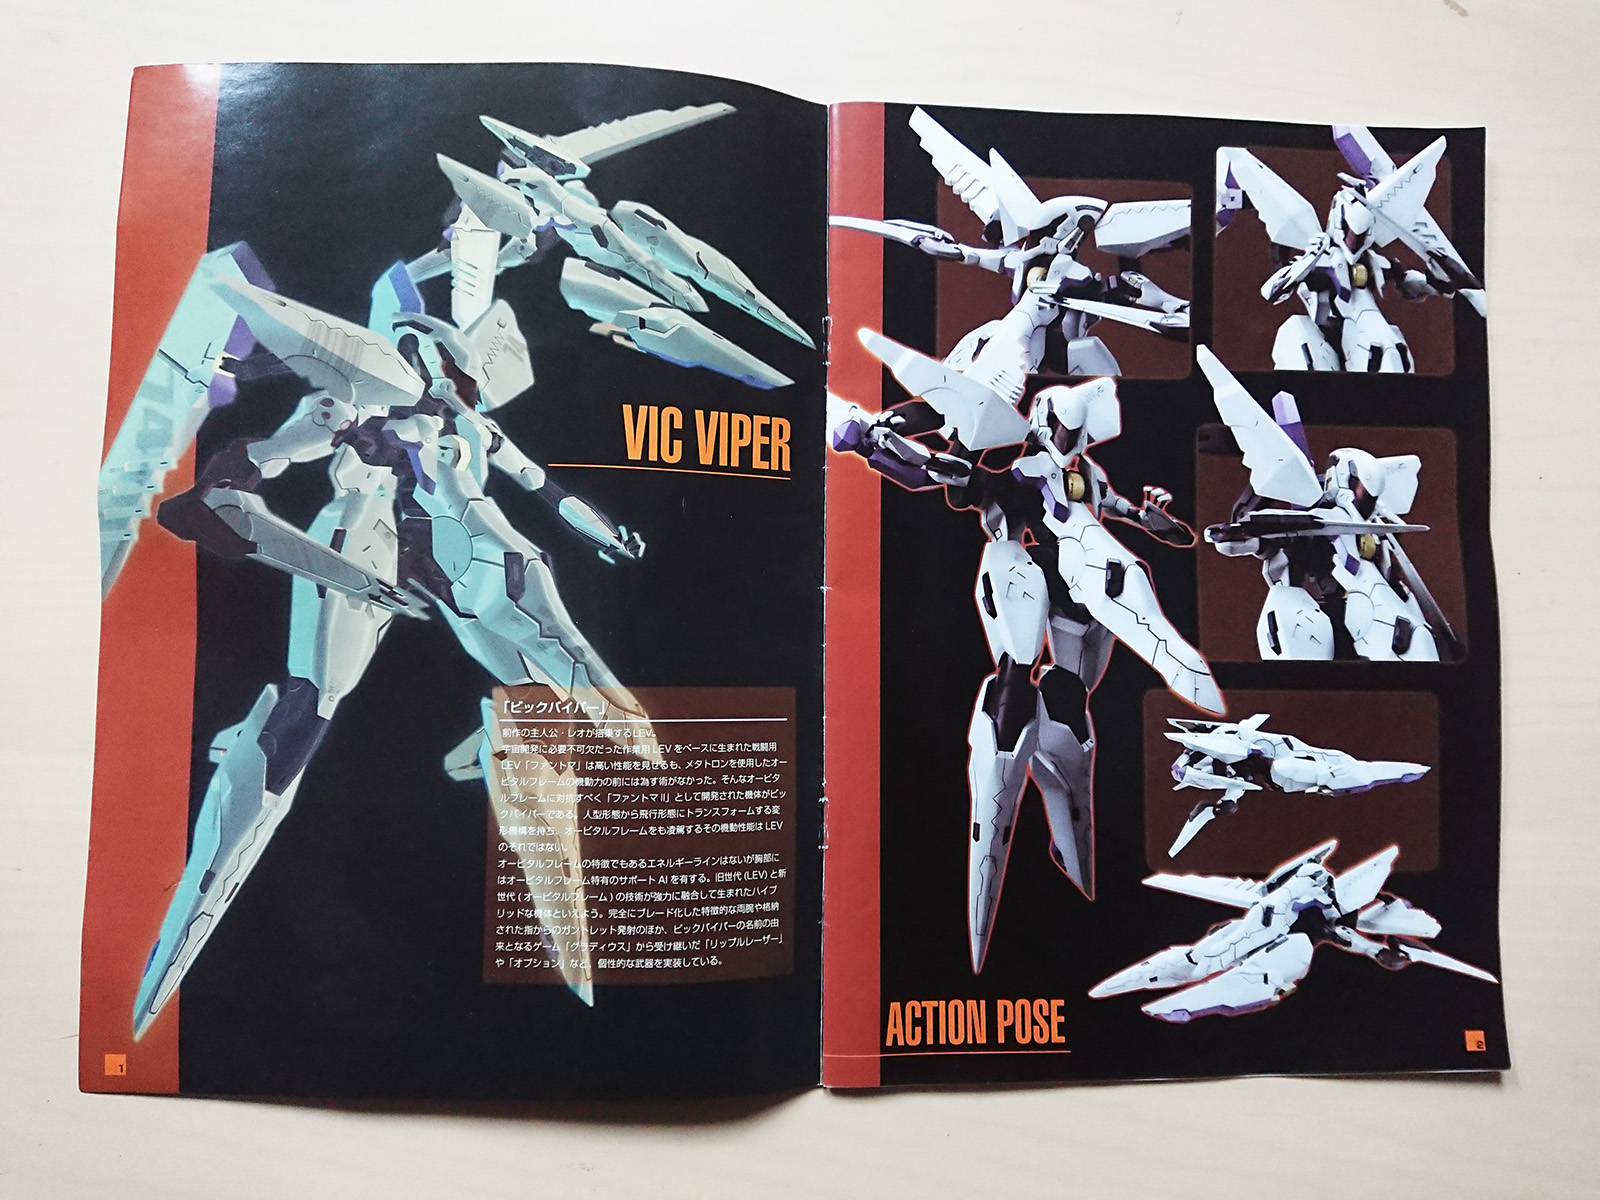
Normally I am not a big fan of the Mecha franchise. Sure I have watched series like Neon Genesis Evangelion or Fullmetal Panic, but I could never understand the hype like for example about Gundam in Japan. Nevertheless, one game series with robots did fascinate me and that was Zone of the Enders, which was developed by Konami and Grandmaster Hideo Kojima on the PS2. I found both the mechas (primarily there called “Orbital Frames”) and the gameplay and soundtrack pretty cool. Since I had bought animefigures here and there, I thought: Why not a mecha figure? And at Z.O.E. there were some. My favorite Mecha from the second part of Z.O.E. was also available – Vic Viper. And even cooler: similar to the game, he could even change from his fighting robot version to his jet version.

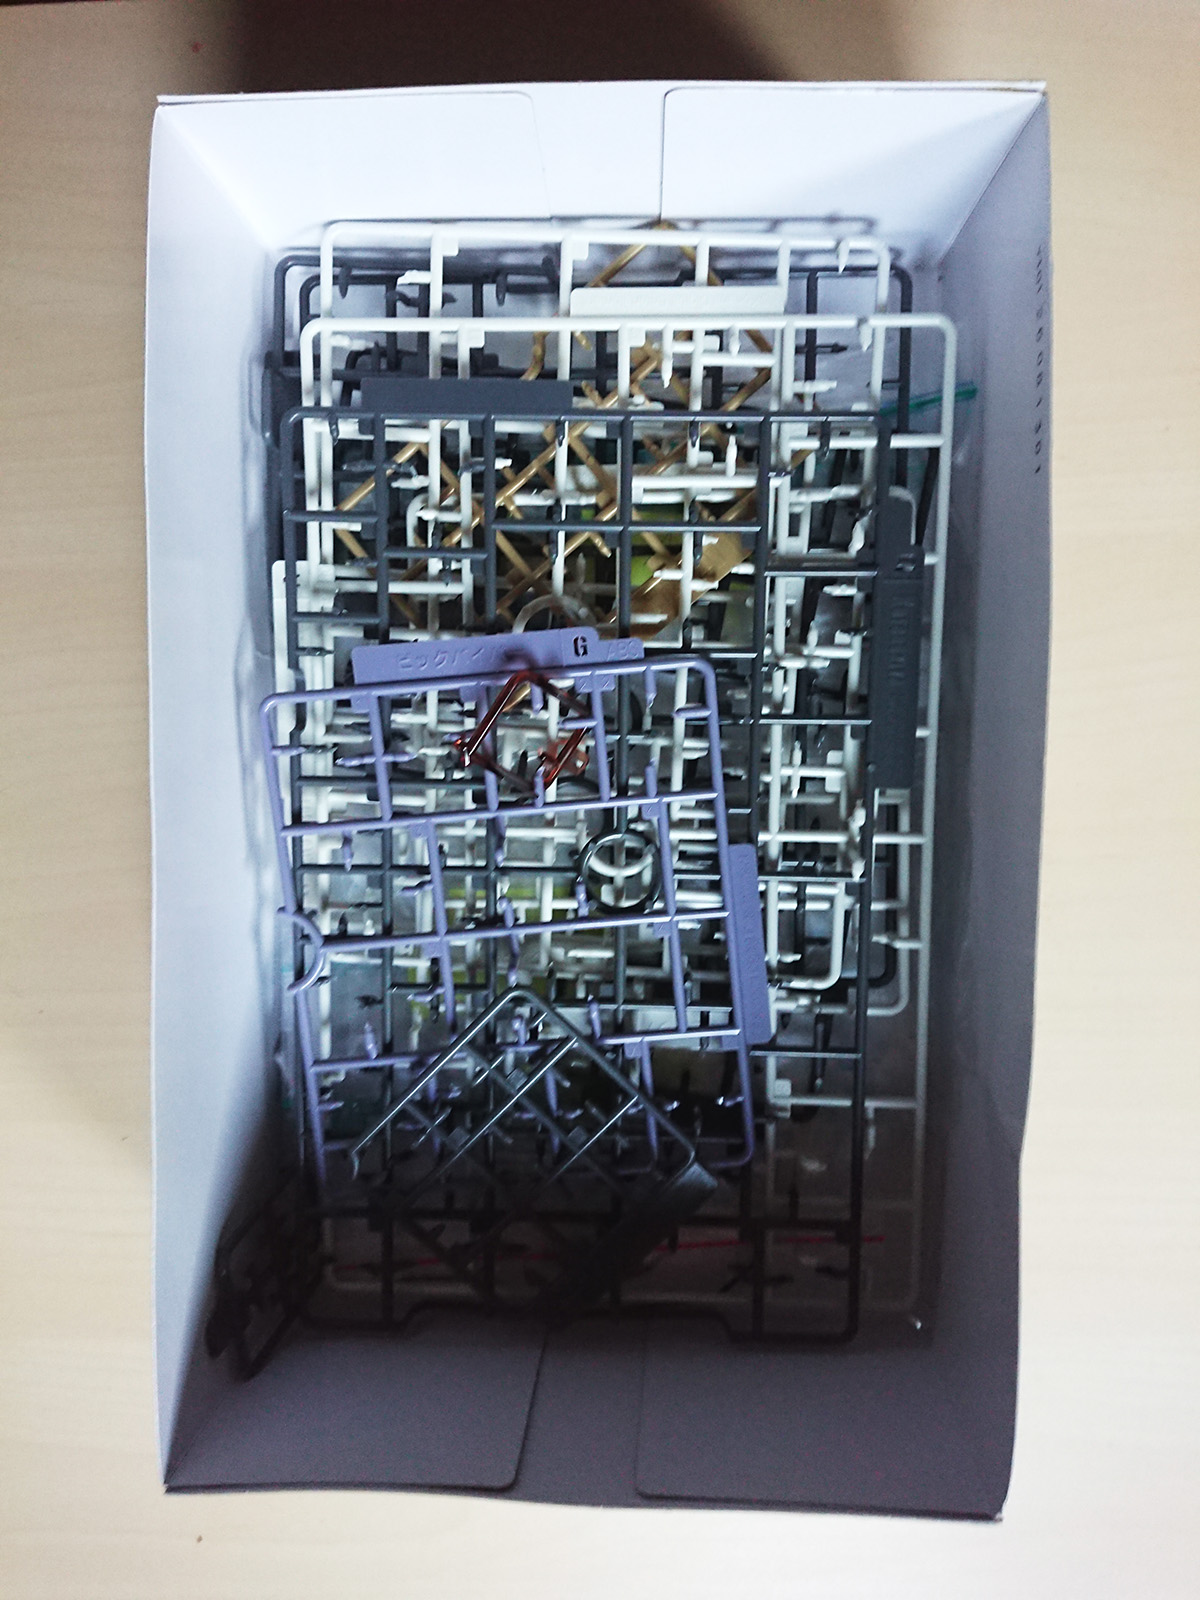
So I ordered the supposed figure from Japan via eBay. At some point the shoe-cartoon-sized package arrived and I thought that the package seemed a bit small… at least in comparison to other anime figures, where the box is much bigger than the figure itself, so that there is still a lot of free space as protection inside. But when I opened the package I was surprised: there was only a notebook and a lot of plastic grids with small pieces in them! In fact, I had not read the description of the eBay item correctly. It was actually a model kit and not a finished figure! I was pretty disappointed at the time, especially because I knew that painting anime figures with Paintbrush is a pagan job that I could probably never do. So I put the box with all its contents in the closet of my former flat share room and there the box is well dusted for several years.
That changed around 2017, when I and my friends from my studies, Hendrik and René, introduced the “handicraft evening”, which took place one day a week. We came up with the idea because it’s somehow more fun to do handicrafts together and talk to each other than just working on the figures in your own apartment. Hendrik and René are, unlike me, passionate tabletoppers (is that how you say it?) and build and paint tiny figures together. So we met weekly, with Hendrik and René painting their little figures while I worked on my Vic Viper. During the handicrafting I also noticed one thing positively that I had thought wrong before. The many individual parts already had a color (like beige, grey, white or black) and therefore did not need to be painted at all.
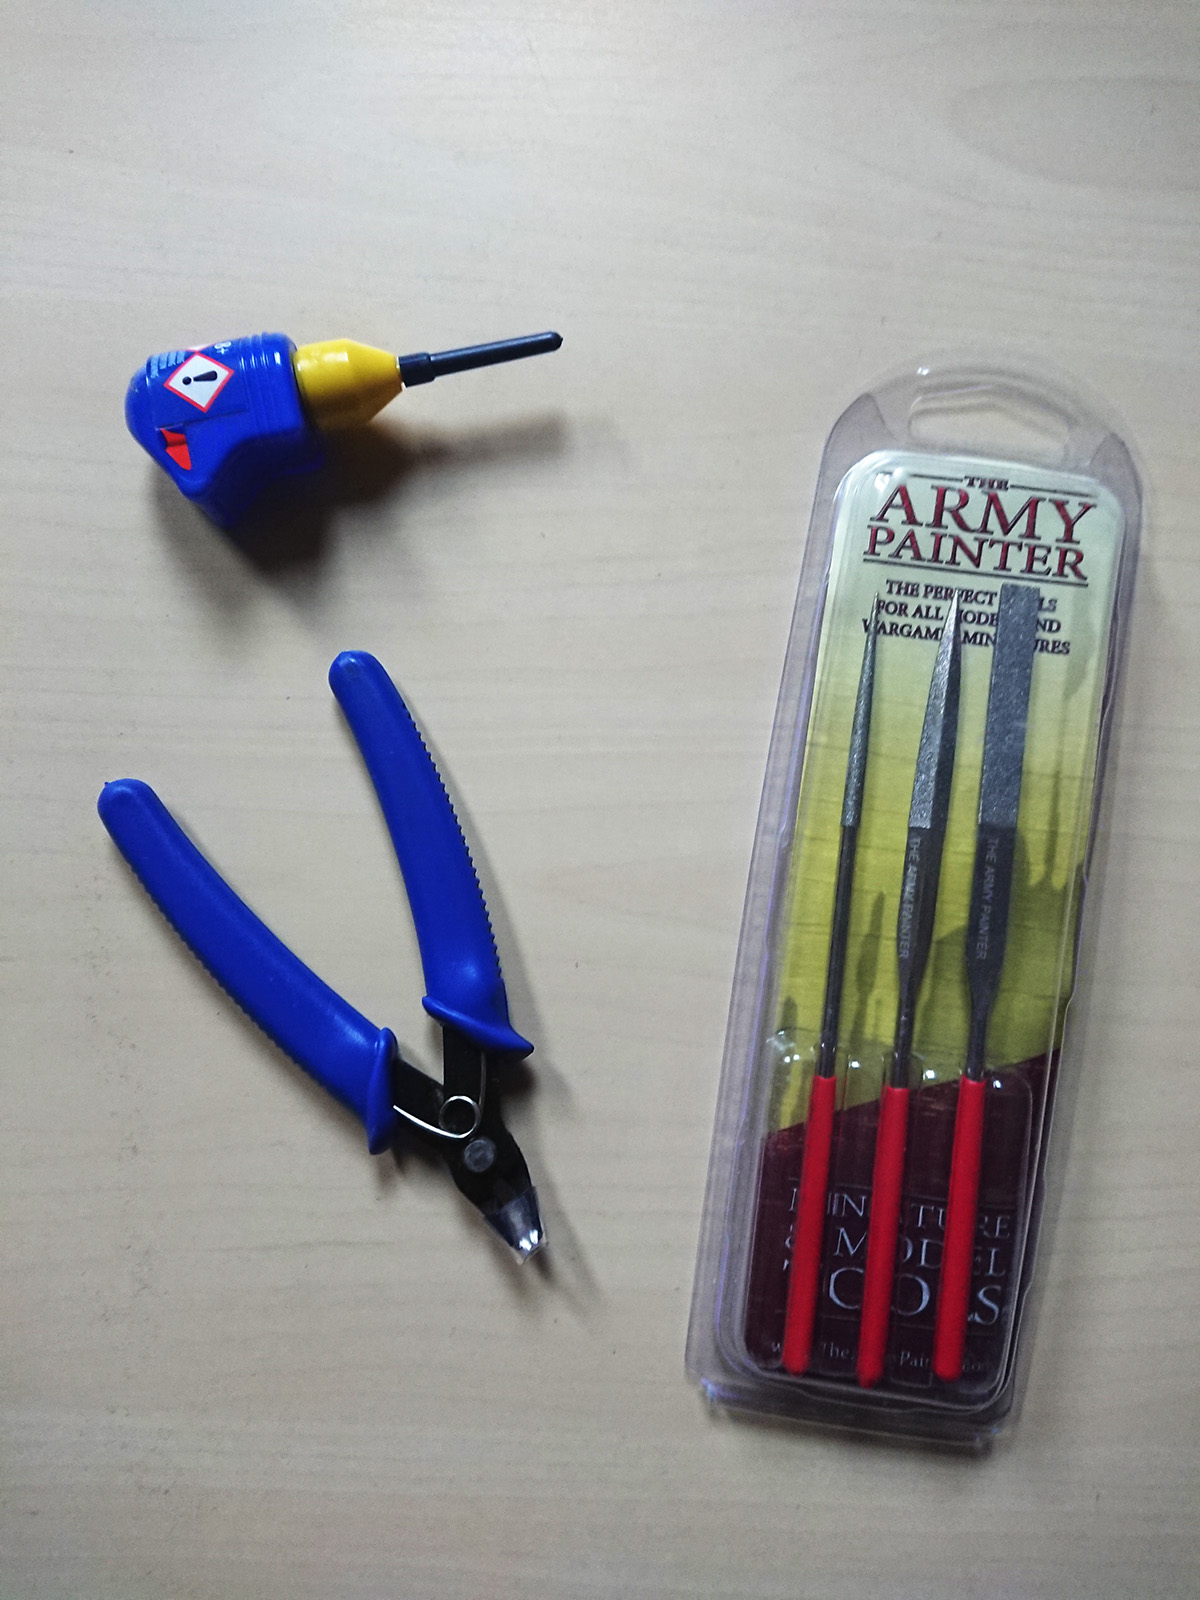
But what did the actual “tinkering” look like? First of all you had to separate all parts from the plastic pallets. At first I thought that would be possible with simple scissors – but I thought wrong. You do need some tools, which are part of the basic equipment even in the tabletop mileau. This includes pliers, arrows in different shapes and model glue for the later assembly. So I used the pliers to separate the parts one by one and grinded each one cleanly if there were leftovers from the holding rods. Each pallet had its own letter and each part a number. Since the number was not very important, because most of the parts looked quite unique and easy to recognize, I sorted them only by pallet letters into single small sealable freezer bags. But some parts were very small. Maybe only 1-2mm thick and about 5mm long. To prevent them from accidentally disappearing, I taped them to some pieces of paper and wrote the number of the respective particle on them. This process of separating and sorting out the particles took several evenings and took about 30% of the time until the figure was ready.
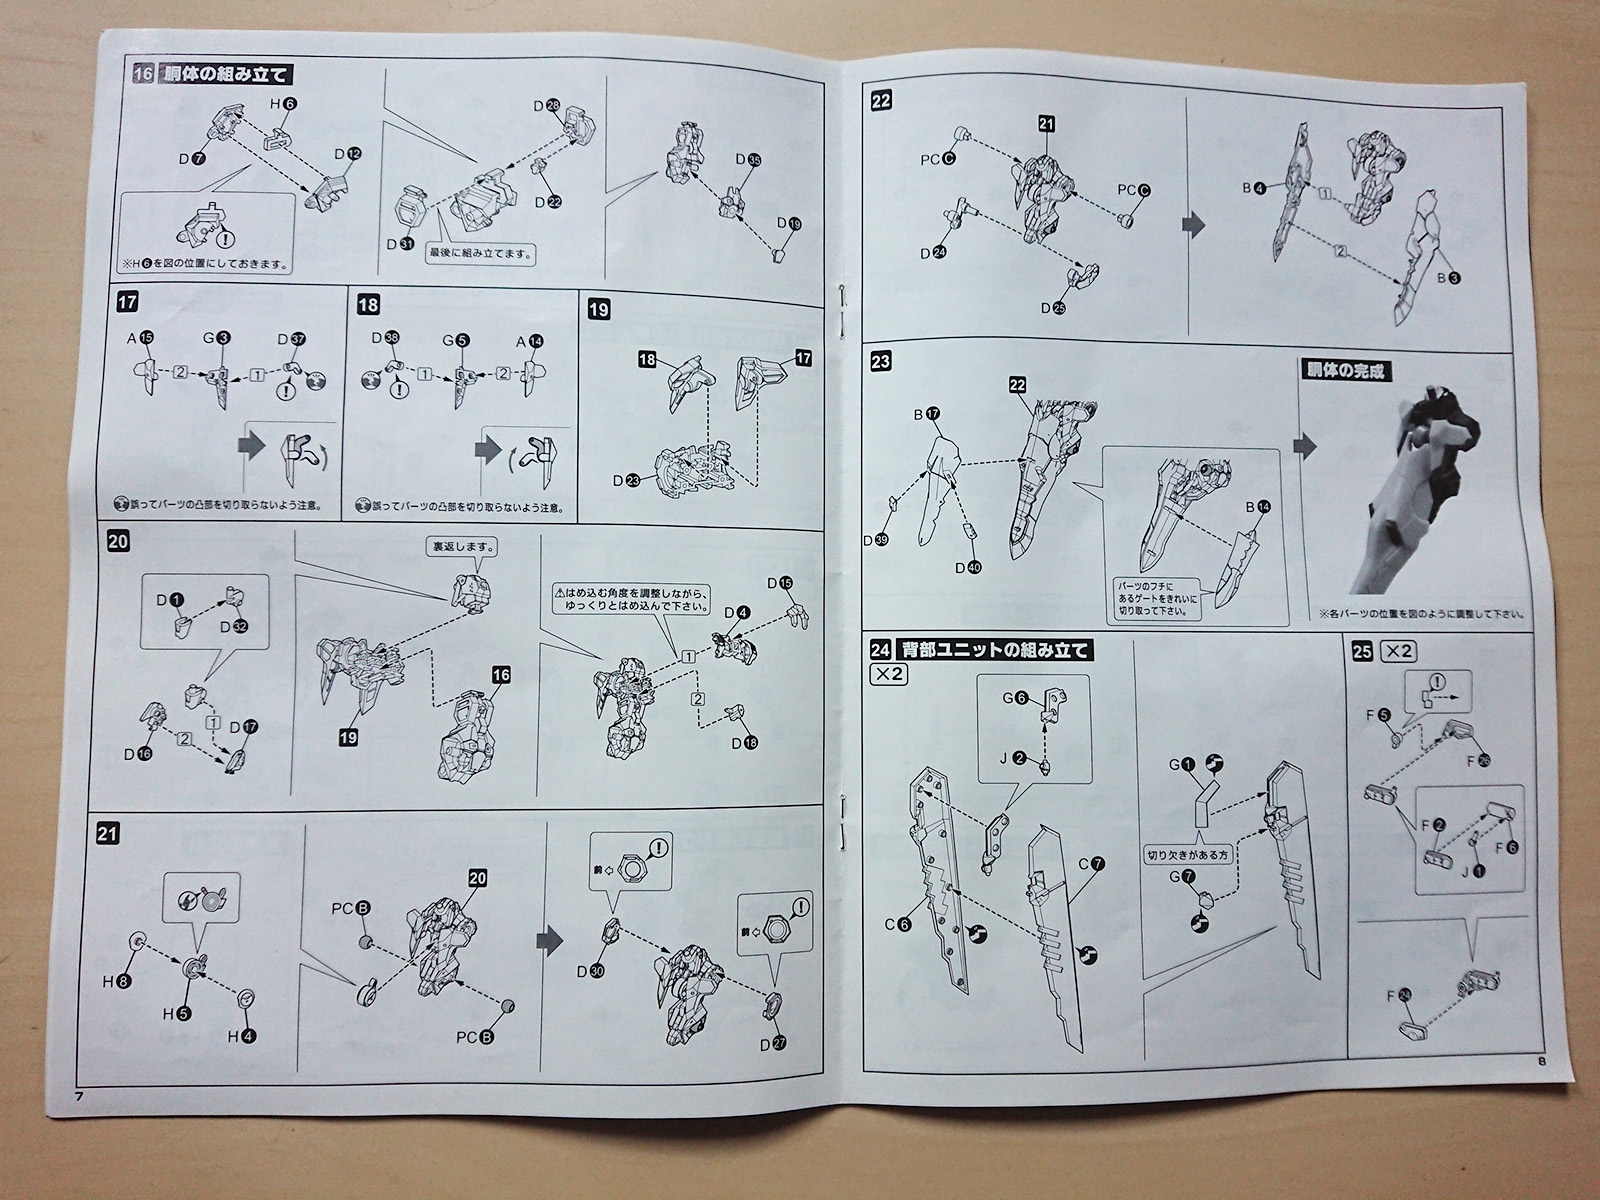
After that the actual “tinkering” part began. The instruction consists of 95% pictures in grayscales, which describe how the individual parts must be put together one after the other. I noticed, that you never need glue, because the parts always stick together when you put them together. But of course this had a disadvantage: If certain parts are put together, it is almost impossible to get them apart again. Therefore you should be careful not to put the wrong pieces together when you have very similar parts (like those that are just mirror-inverted). For this purpose there is a small Japanese inscription here and there in the manual, which says something like “Caution! Not reversible when assembling” or “Caution! Can break easily!” (at least from the context). So a few times I had to overcome a step in the process of assembling, also with the ulterior motive: If this was the wrong particle, then I can throw away the whole model. In theory, there are services in Japan to reorder certain parts – but as you can imagine, they are disproportionately expensive. Unfortunately there were no spare parts in the model kit. The only other emergency solution would have been 3D printing, which has become popular in recent years. But you would need the right color and the particle as a model in the 3D program. Whether a 3D printer could print it out in the same level of detail is still questionable.


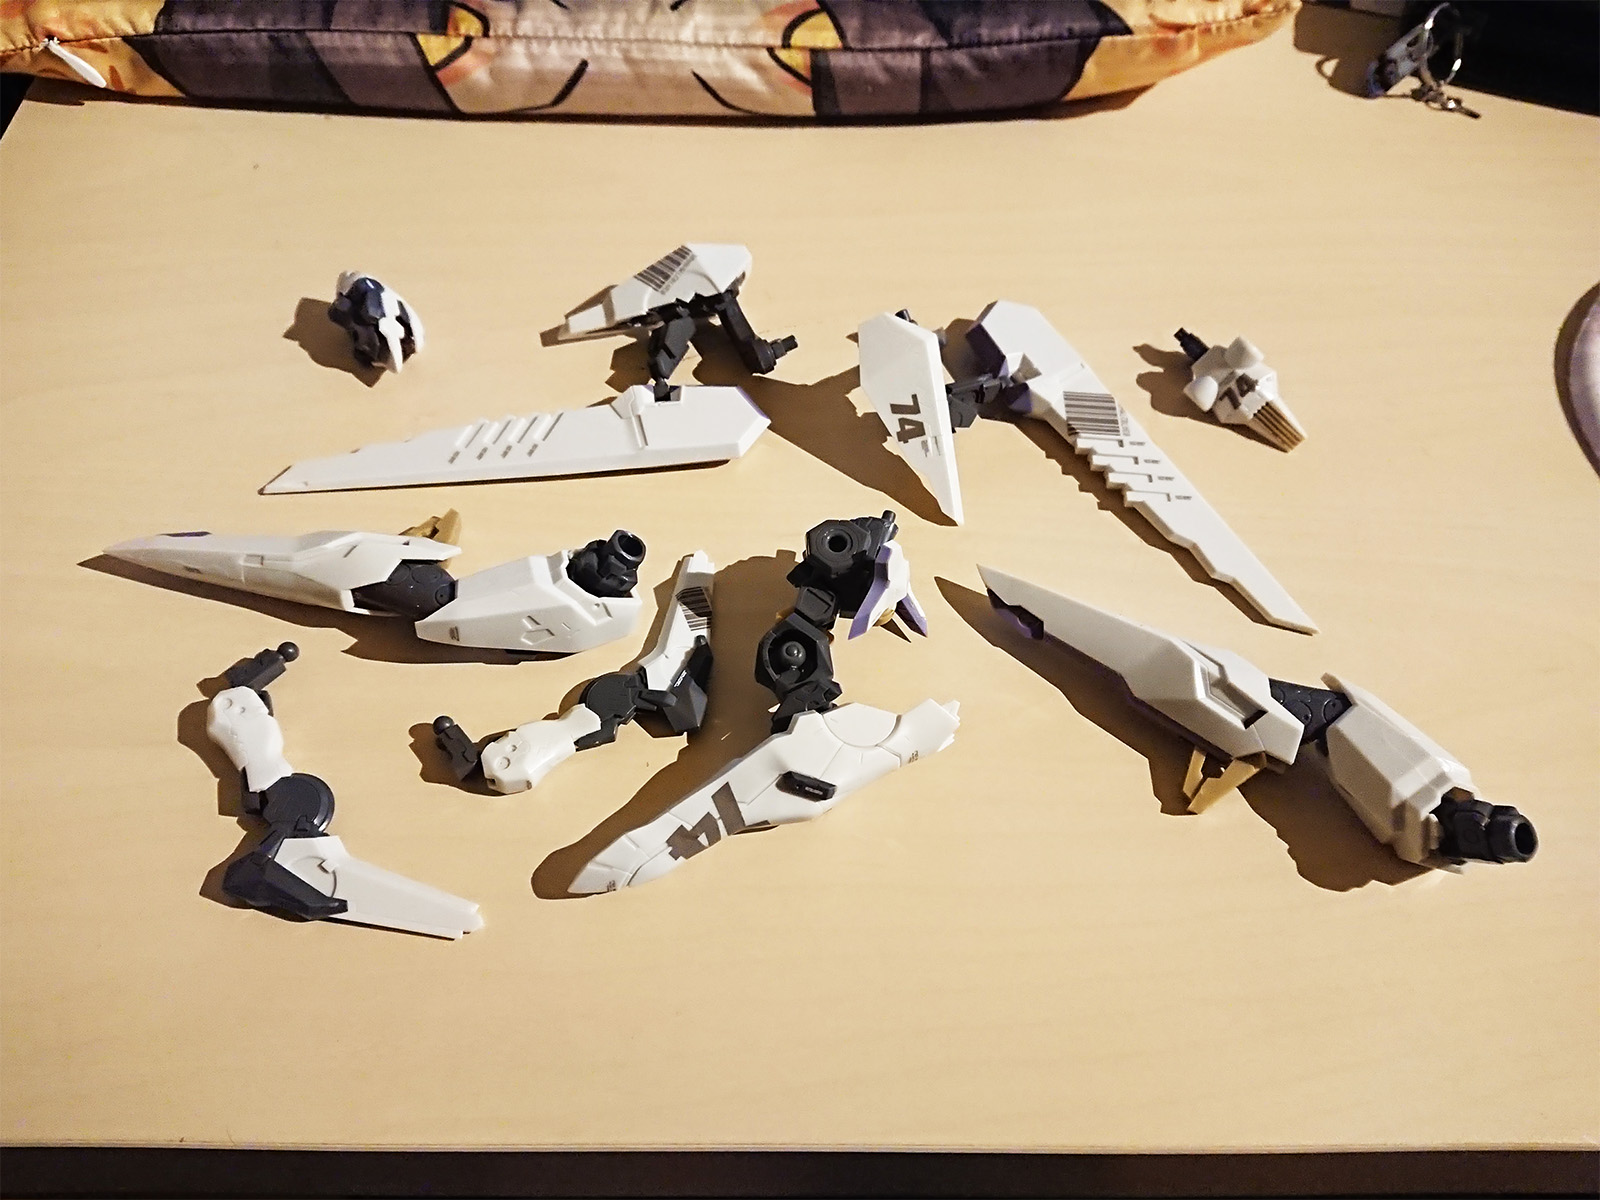
Unfortunately the weekly handicraft evening came to an end after a few weeks, because Hendrik and René had less time (bachelor/master thesis, vacation, family etc.). In the meantime I had reached the point where I had finished building about 8 body parts and was about 80% done. As I think it is stupid to do it alone, I did not continue to work on the Mecha without the evening. So the unfinished Vic Viper had disappeared for several years in the box and had become very dusty. This was also supported by the fact that I was busy with two moves in 2018, there were big changes in my life and often there was not enough space to do handicrafts or even store the box.
2020, also Corona-conditioned with Lockdown, we came again to introduce the handicraft evening. Mostly four or five of us are doing this virtually via Discord, this time René and Dominik are drawing, Tim is painting tabletop figures and Nathalie and I are “tinkering” with local things. In Nathalie’s case, these were self-sewn masks for mouth and nose, which took about 1-2 hours per piece and were made from scraps of fabric we picked up from a local store. I, on the other hand, continued working on Vic Viper, where I had to find out where I was and how I had organized everything because of the break of more than 3 years. But apart from the masks and model kit, Nathalie and I also had countless other handicraft items on our shelves, because we had given them to each other over the last years (and about which I might do some reviews). These include Hekel dolls, 3D puzzles and lasercut wooden models.
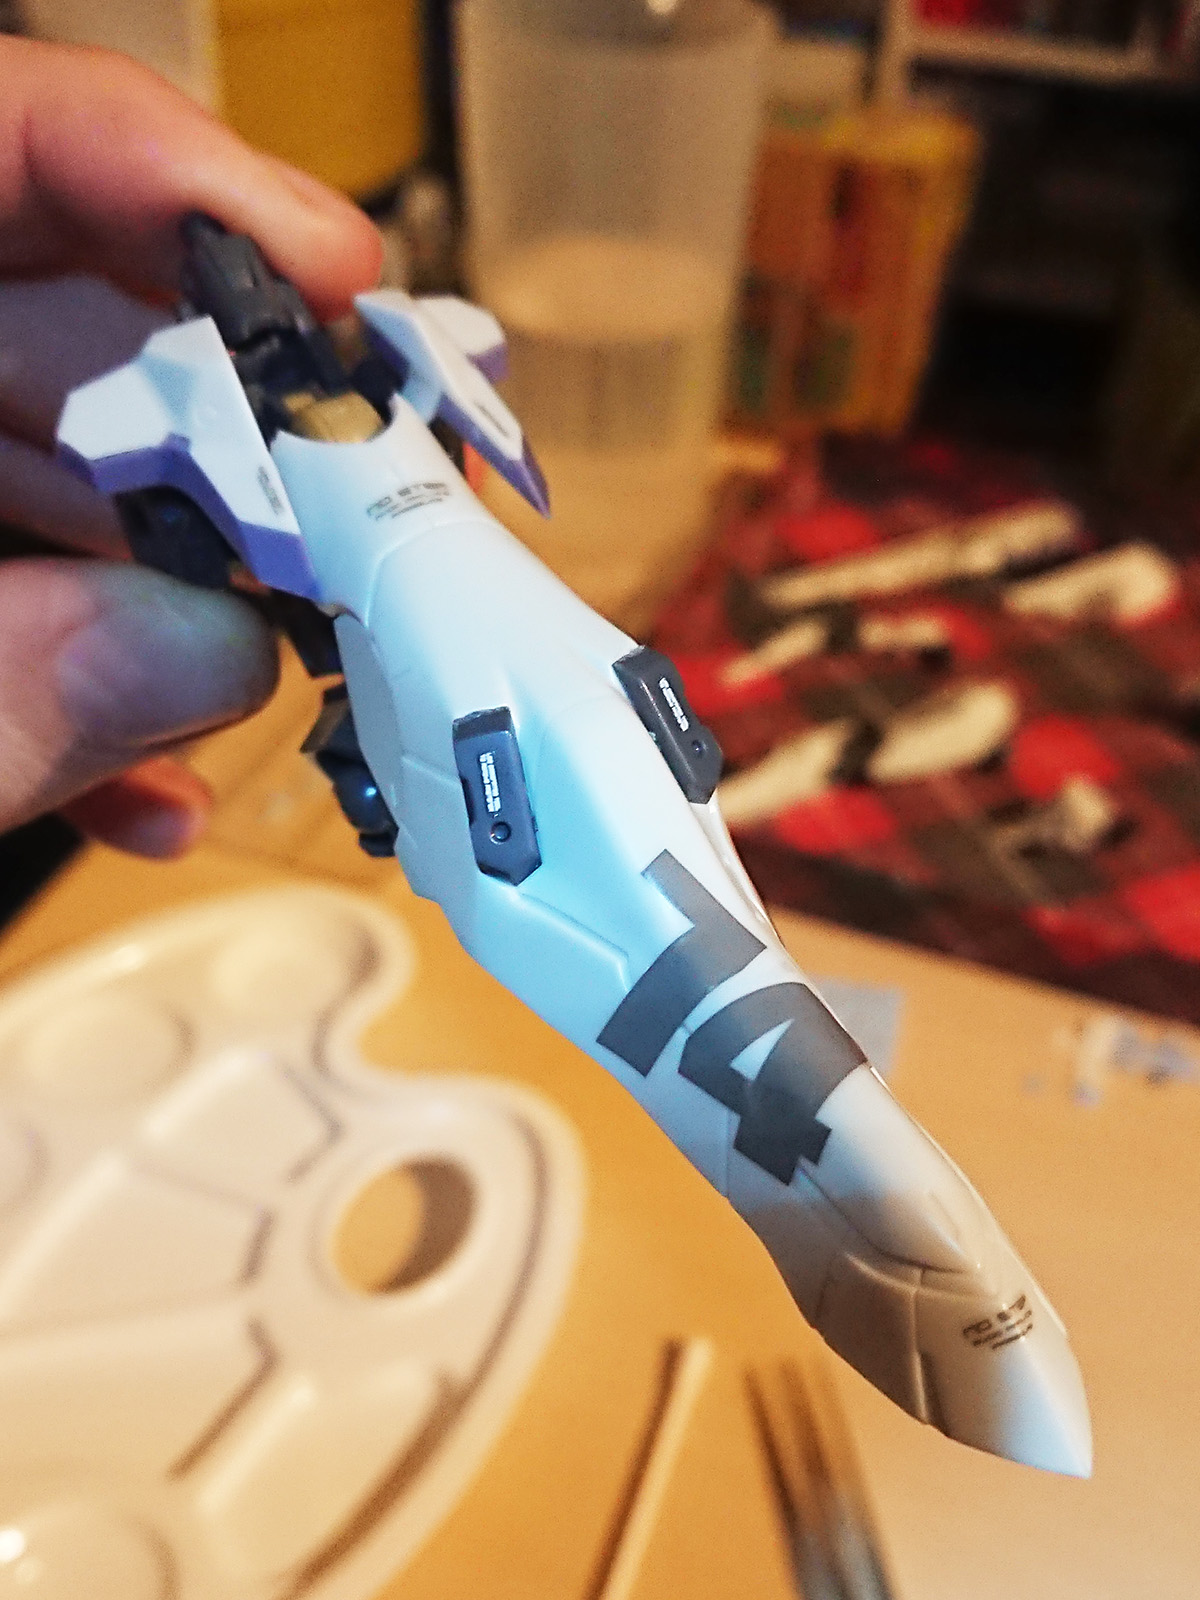
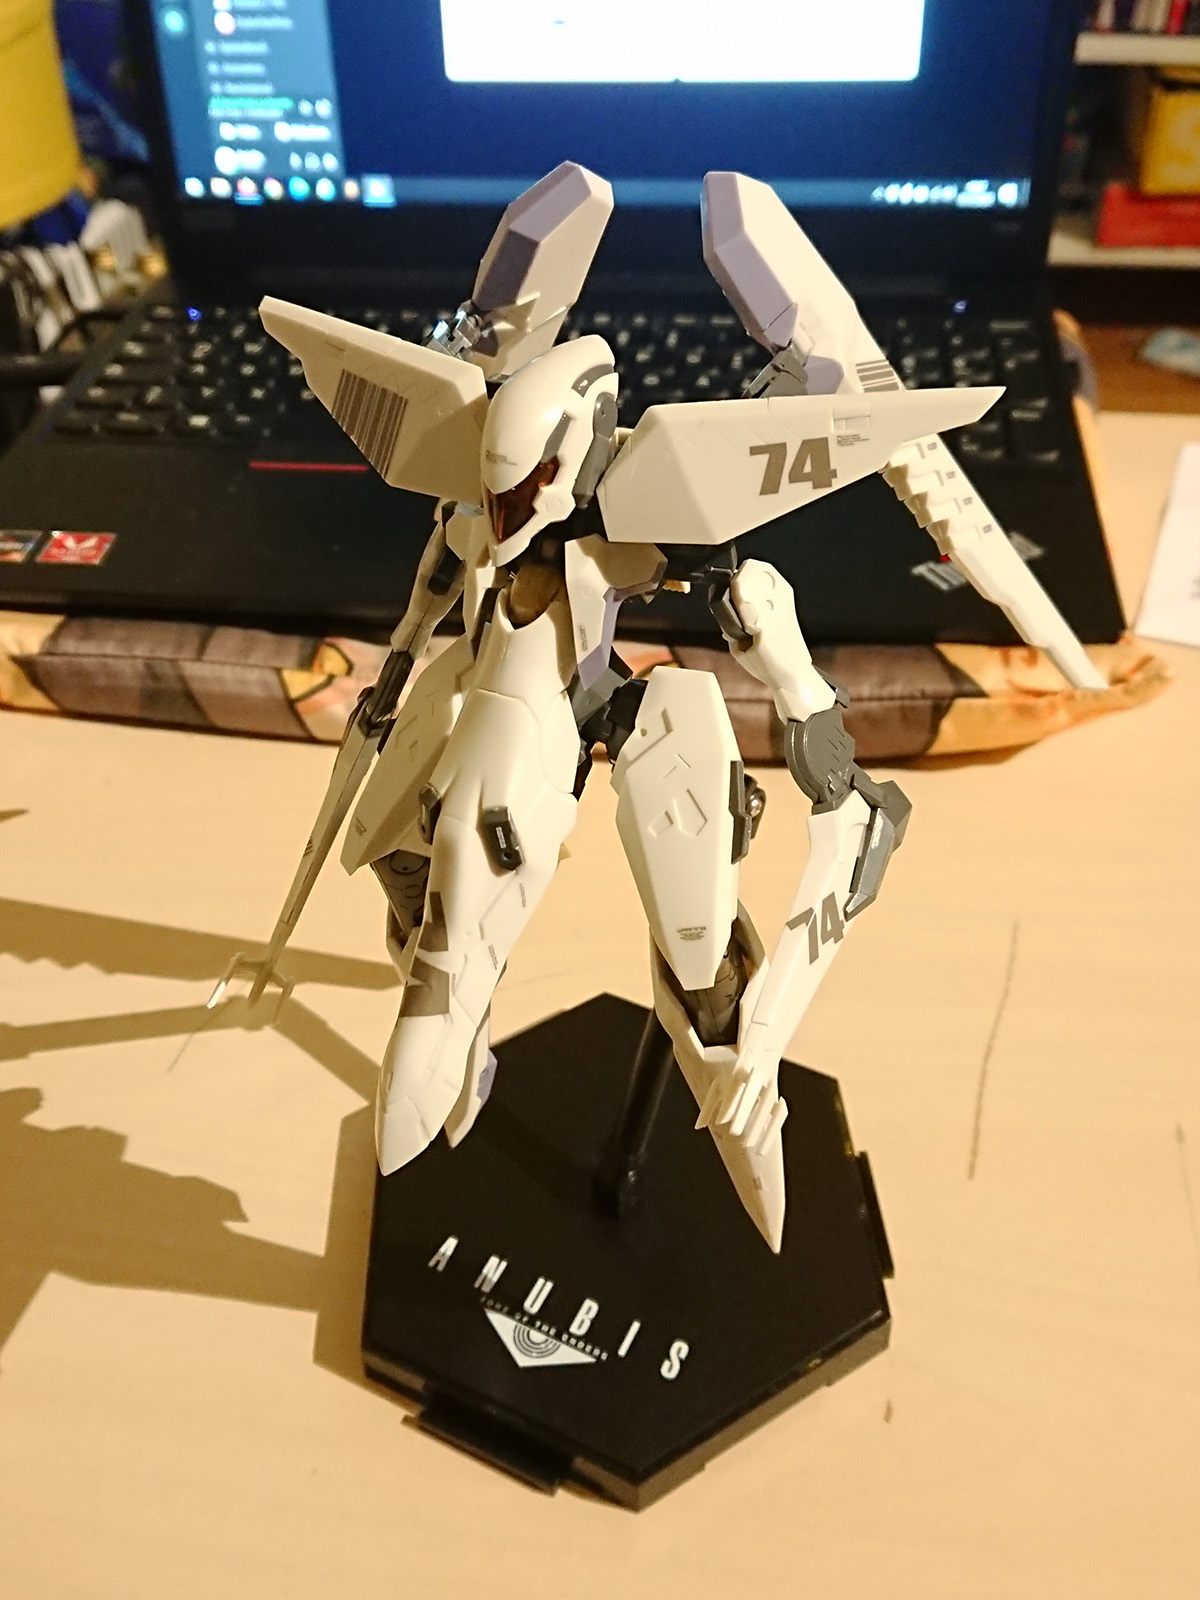
After a few weeks, Vic Viper was finally finished. Throughout there were always a few tricky parts, but the parts actually always fit together cleanly. The most annoying part was the hands of the mecha at the end, because the fingers didn’t stick to the palm of the mecha by themselves and had to be glued on. Before I put the body parts together, only the stickers had to be put on. This still turned out to be difficult, at least in that they weren’t normal stickers, but that you had to soak them in water and then apply them to the desired area and let them dry (similar to temporary tattoos). Some were maybe just 1x2mm in size and had to go on the headboard, for example. It was then often almost by chance, in which position I got the sticker then still on the corresponding body part and I had to push a lot with cotton swab or needle back and forth. With about 4 mini stickers, I then decided not to apply them, because they should be in white on the yellow-gold inner gears or joints. Not only would that be extremely fiddly and you’d hardly be able to see them there, but by sticking them together and moving the body parts around, they’d probably just grind off. Still, I was very pleased with my work in the end.


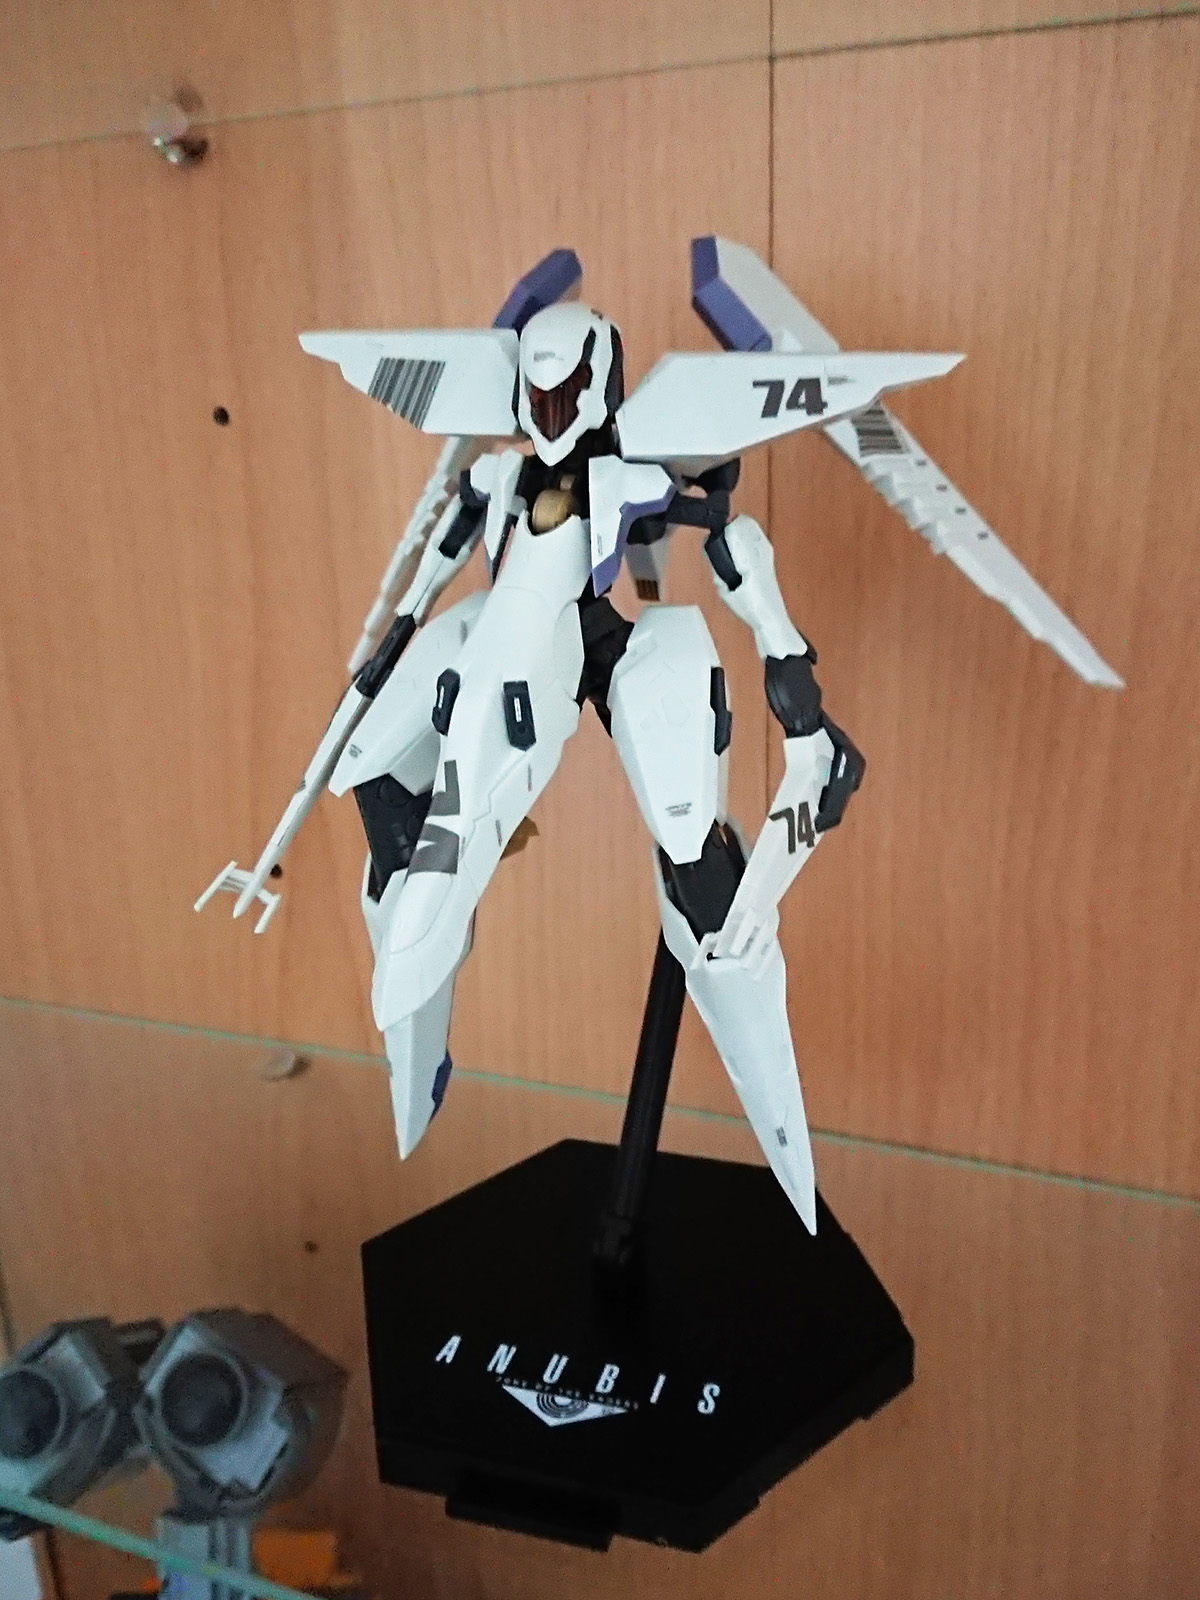
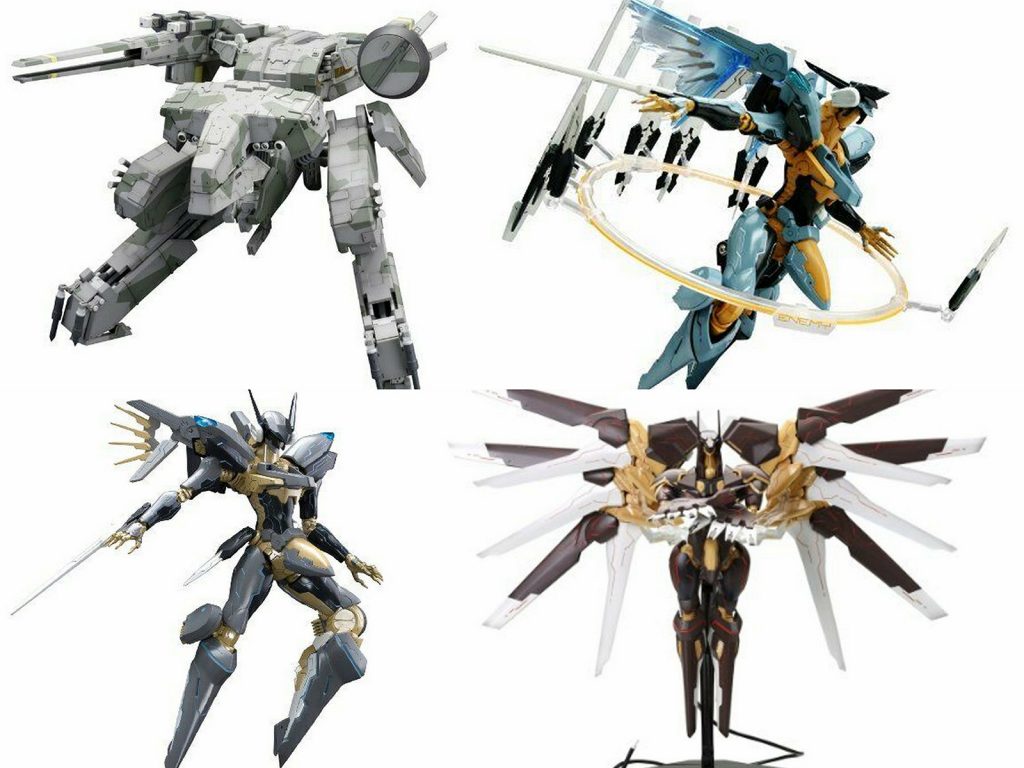
After Vic Viper, however, my desire to build models has not diminished. On the contrary, I would like to continue with it. Unfortunately, the figures of that time offered by the company KOTOBUKIYA have become quite expensive. This includes not only the other “Orbital Frames” of the Z.O.E. series like Jehuty and Anubis, but also for example Metal Gear Rex from the first Metal Gear Solid for the PS1. It remains to be seen if I will get another (or even more!) of these model kits, because they are indeed a nice occupational therapy and both the assembly is fun and the result is worth seeing.
2 Comments
Pingback:
Pingback: